Course Content
Introduction
A pre-lesson to help prepare you for Lesson 1.
0/2
Lesson 1: Getting Started
Collect the photography gear that you'll need for the course
0/4
Lesson 2: The Workings of a Camera (Technical Lesson 1)
In this lesson, we'll discuss how a camera works - including digital cameras!
0/6
Lesson 3: Background vs. Foreground (Composition 1)
In this lesson, we will look at the three basic elements of every photograph - the foreground, the background, and the subject.
0/4
Lesson 4: Light (Technical Lesson 2)
Everything in a photograph is based on light. In this lesson, we will study light and how to use it to your advantage while taking pictures.
0/7
Lesson 5: Tell a Story (Composition 2)
In this lesson, we will discuss how to compose pictures in such a way as to draw viewers into the photo via the story it tells.
0/6
Lesson 6: The Direction of Light (Technical Lesson 3)
In this lesson, we will look at how the direction of light affects our photographs - and why this is important.
0/6
Wilderness Photography 101
About Lesson
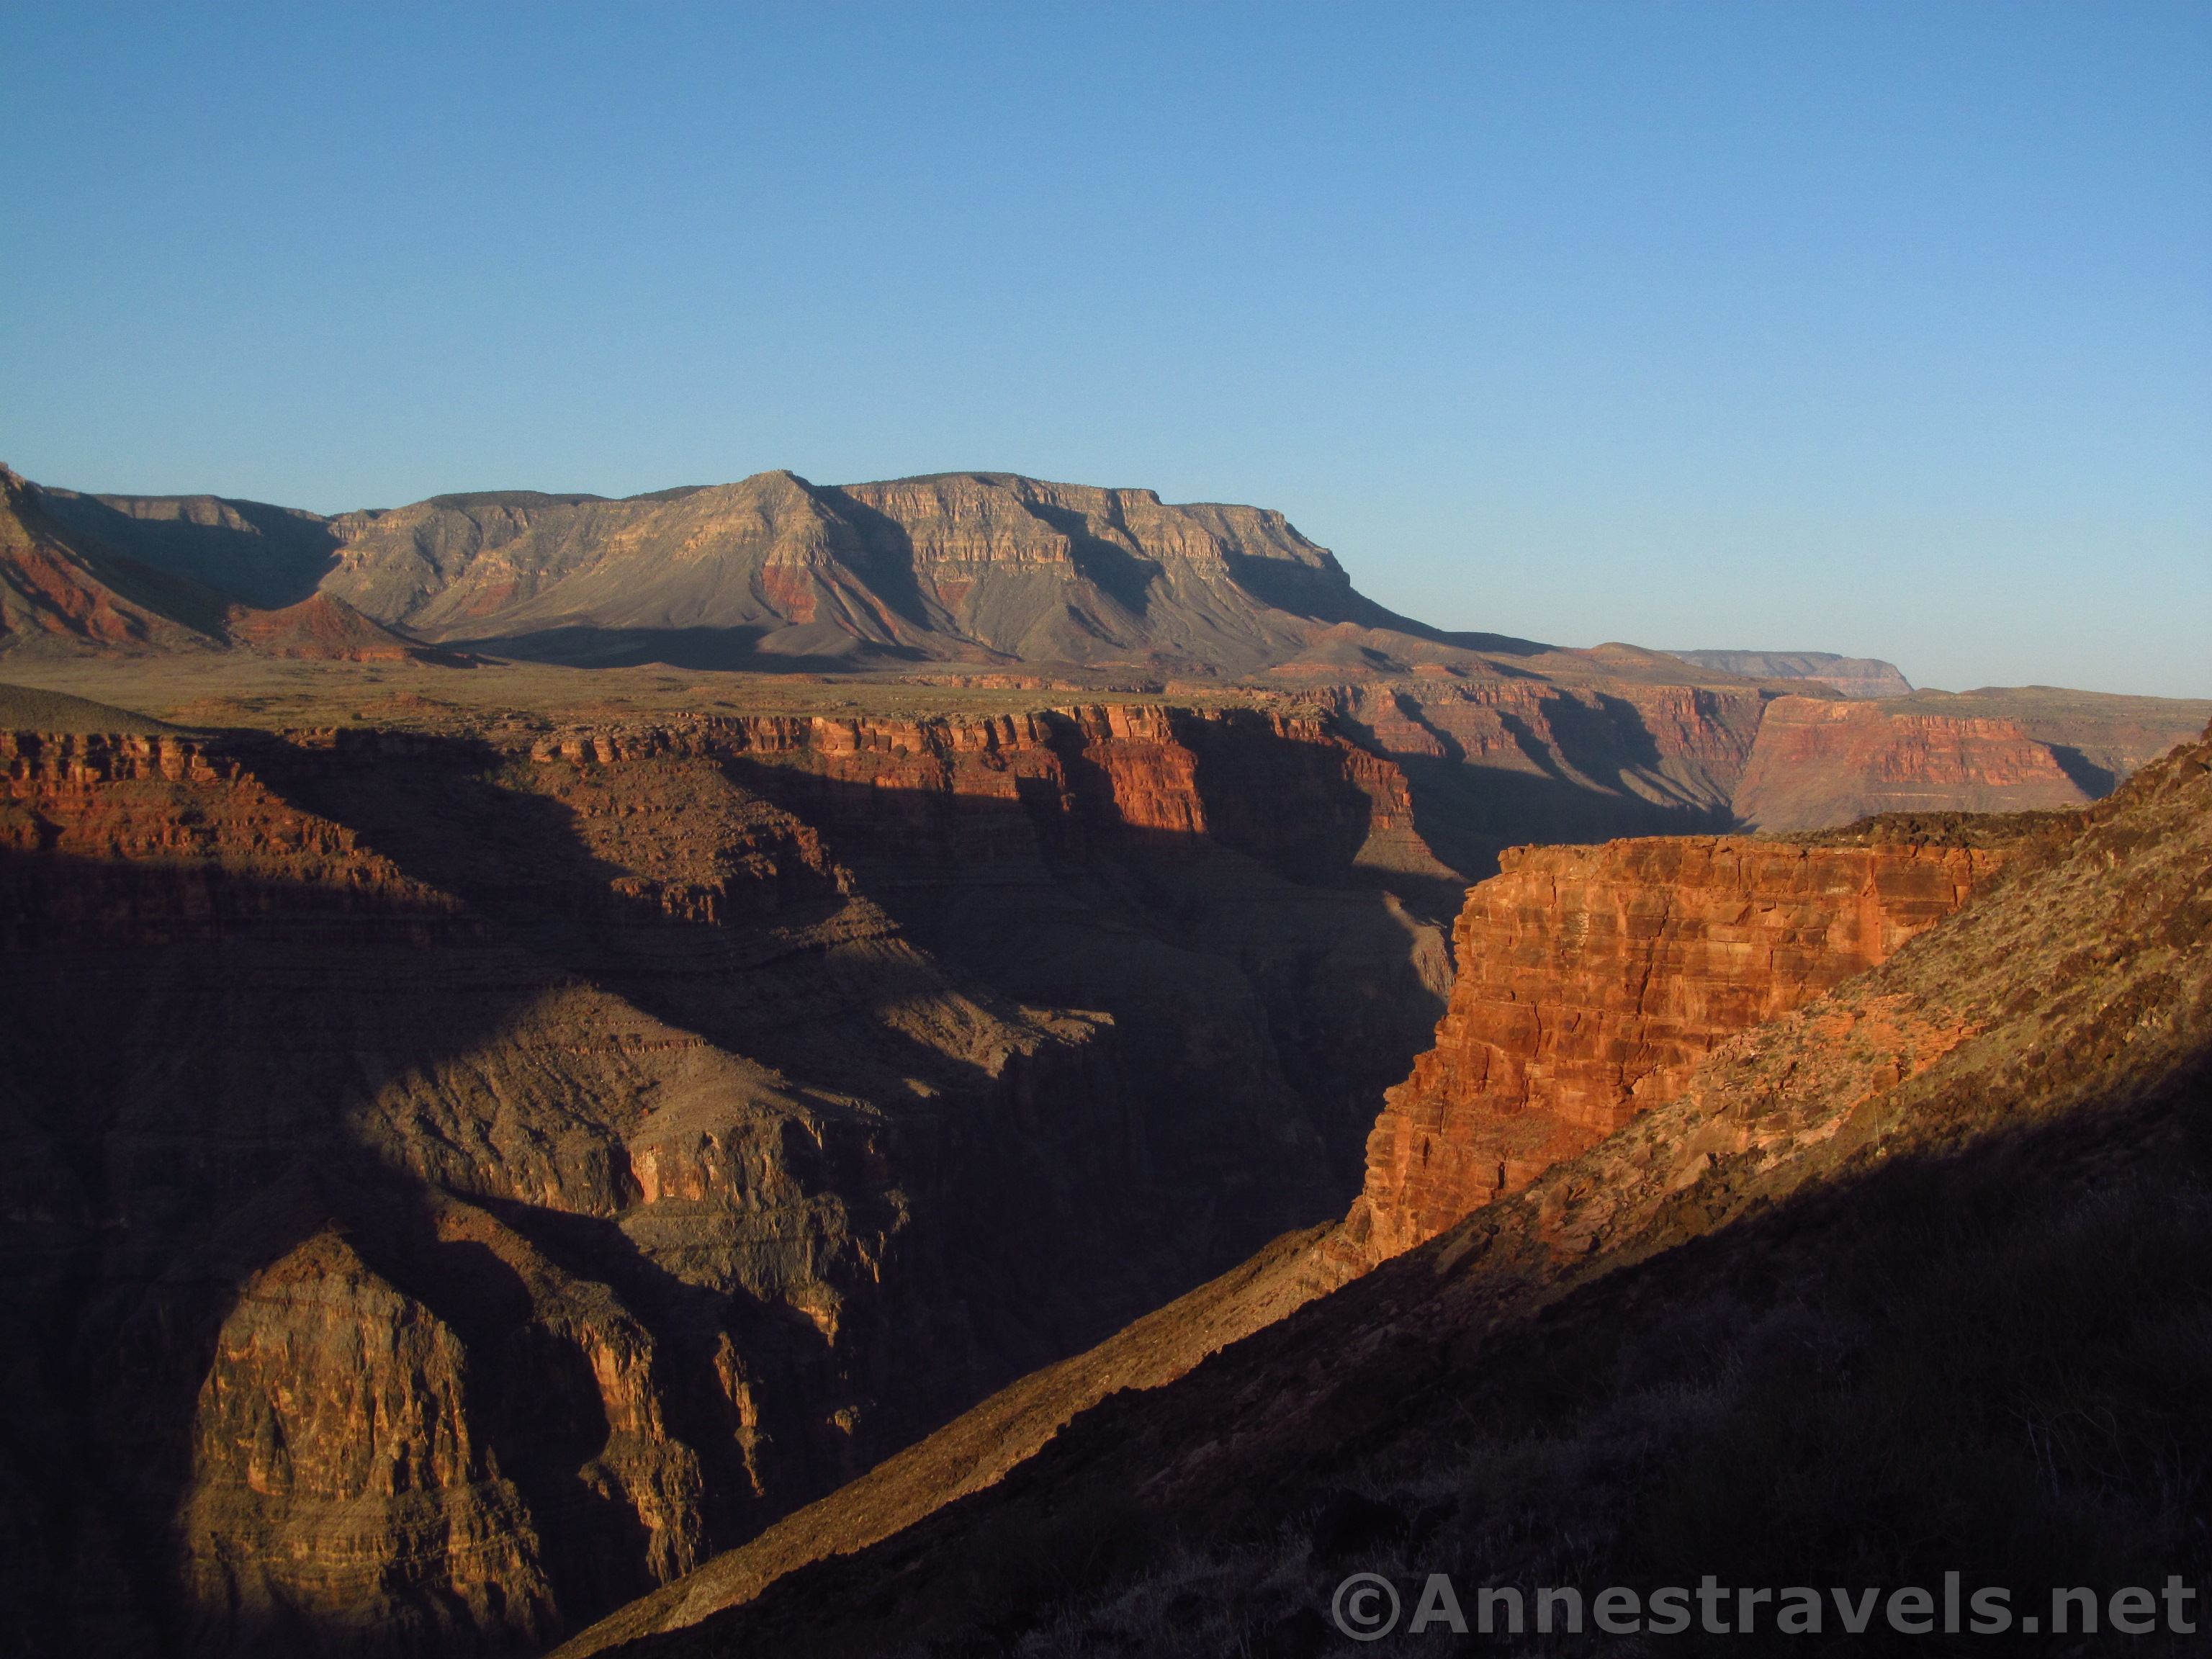
Lava Falls Route, Grand Canyon National Park, Arizona
The sun is shining on, but not directly into, the canyon in this photo, allowing for deep shadows and sense of a quiet hush. Near the Toroweap Overlook, Grand Canyon National Park, Arizona

There is no “best” direction of light for a photograph.  Like any other element of a picture, the direction of light will help – or hinder – you as you tell a story with your photograph.
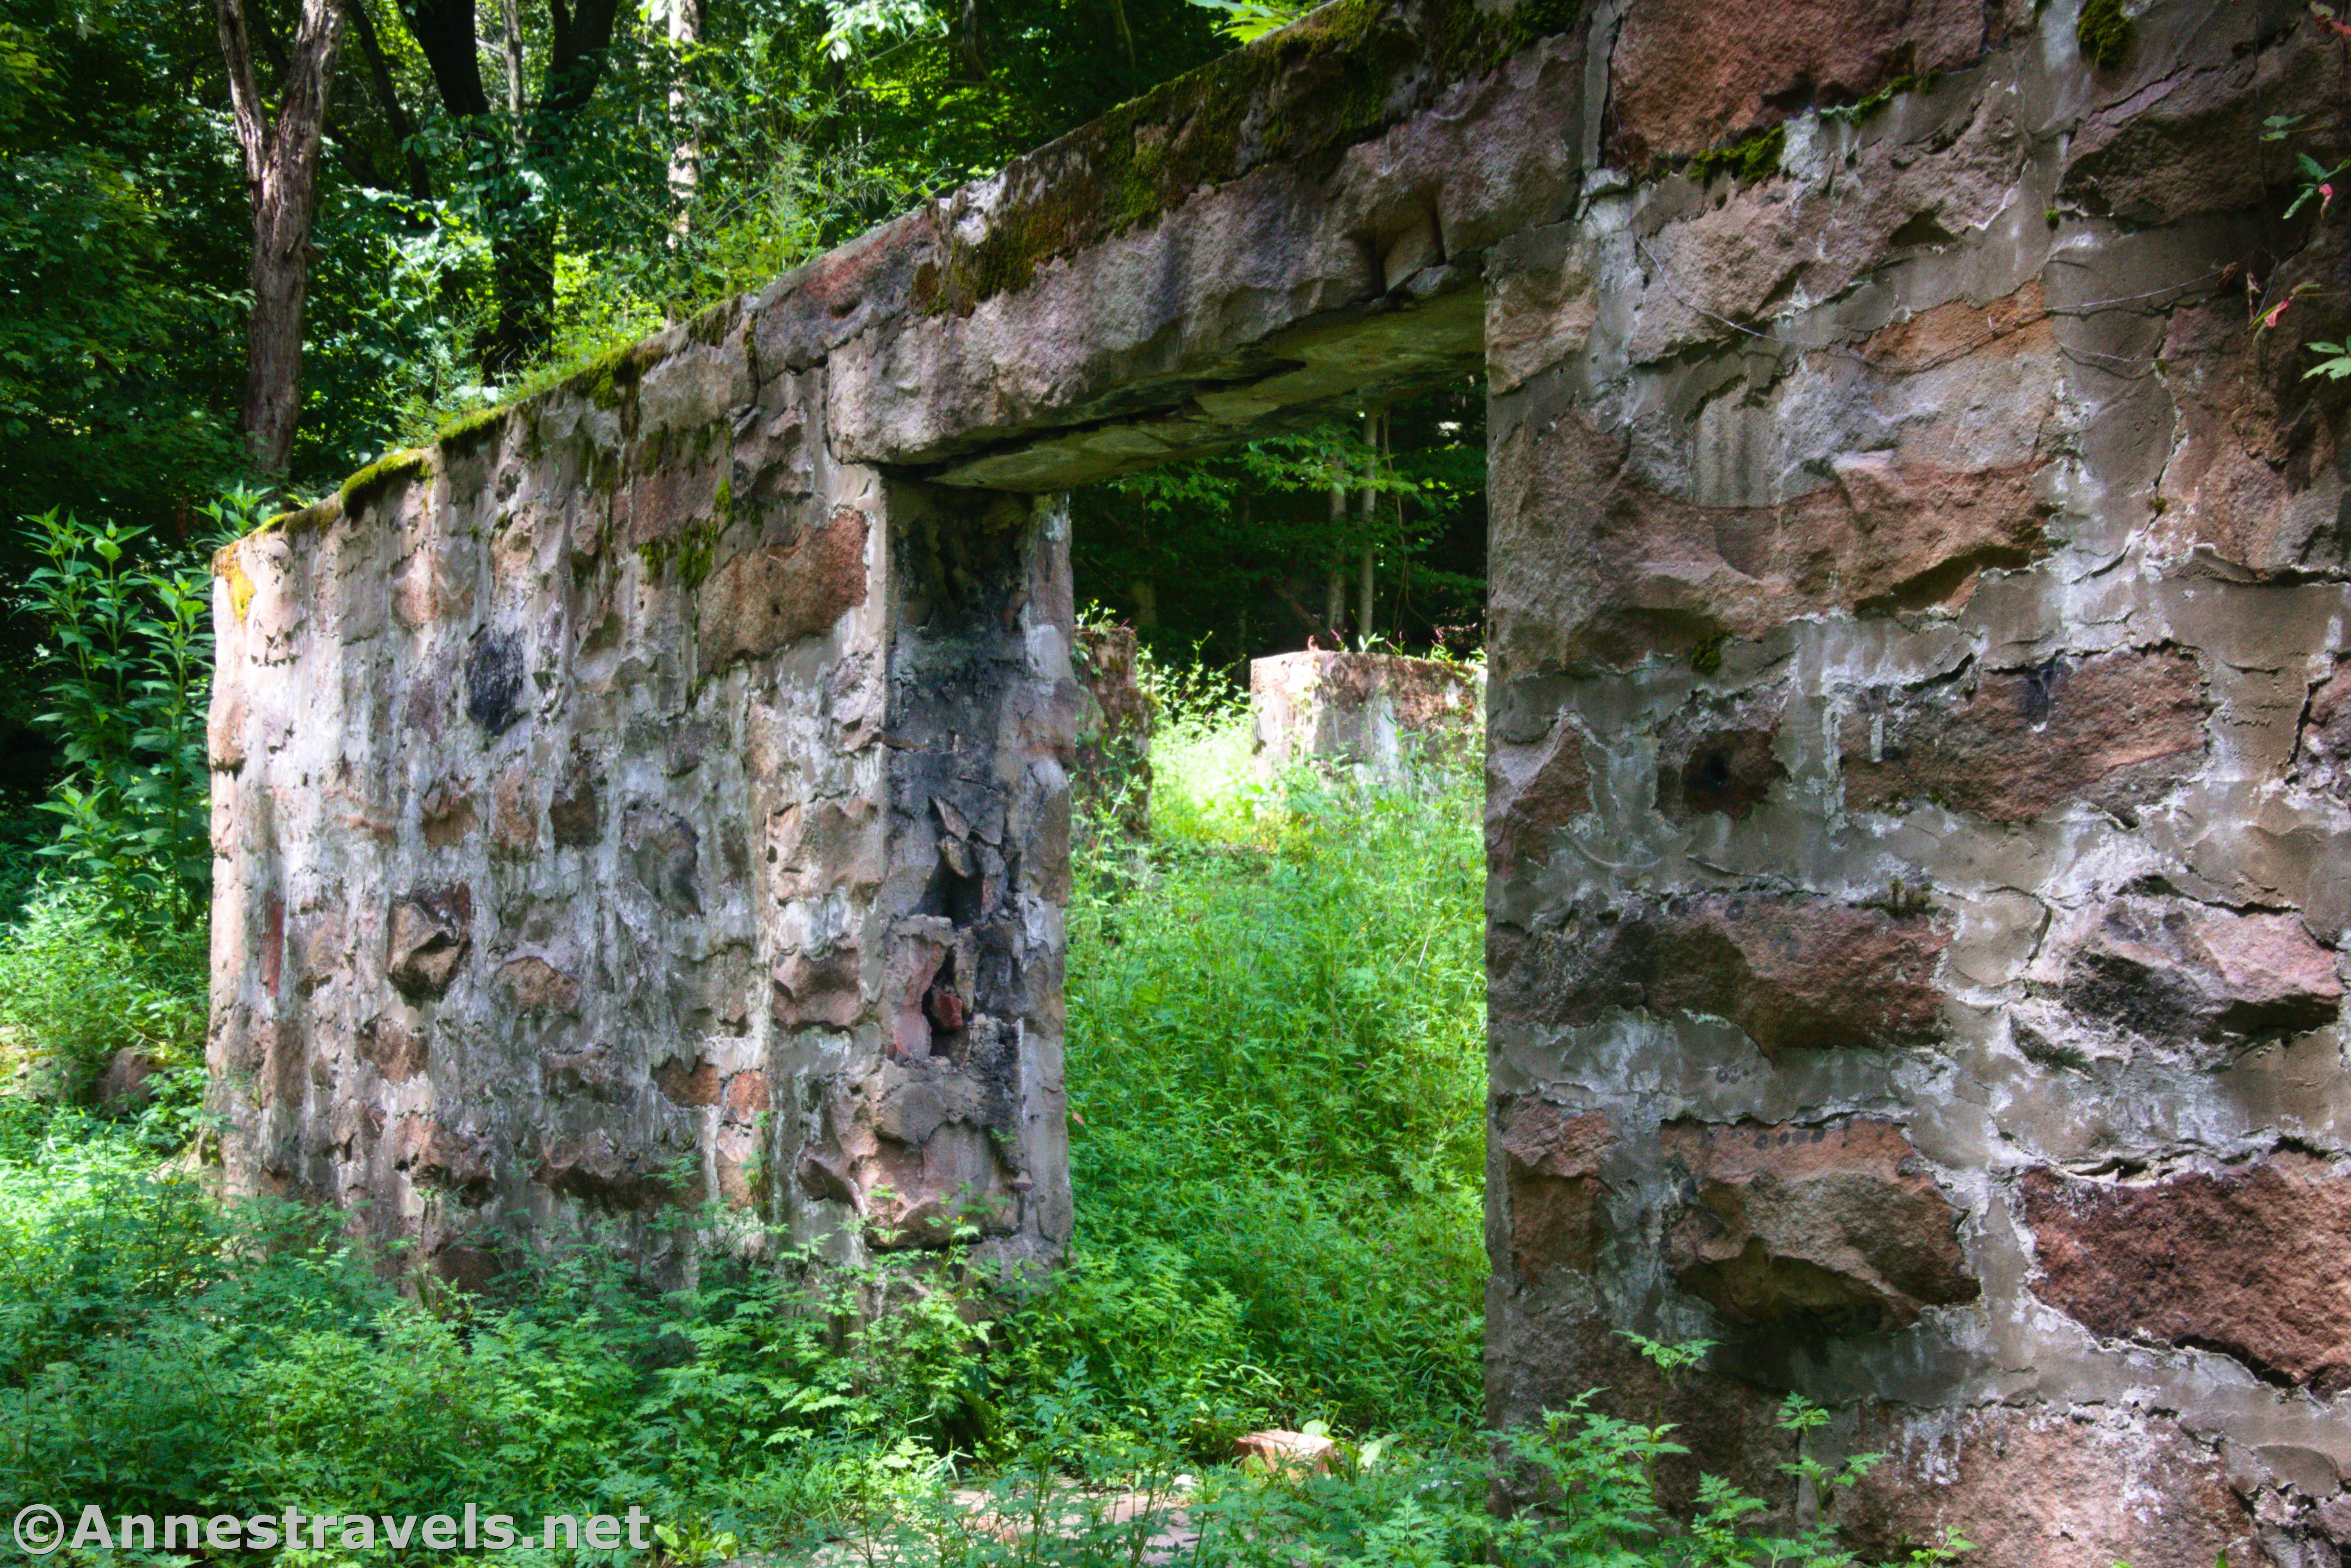
Lighting this photo from the side (not that I got to choose where the sun was coming from!) gives this photo a sense of time long past.  Direct light would not have been as effective or tell the same story.  Nuttallburg, New River Gorge National Park, West Virginia
Lighting this photo from the side (not that I got to choose where the sun was coming from!) gives this photo a sense of time long past. Direct light would not have been as effective or tell the same story. Nuttallburg, New River Gorge National Park, West Virginia

The easiest rule of thumb is to shoot with the light behind you so it falls directly on your subject.  You don’t have to worry about shadows obscuring your subject or it being backlit.  However, this practice isn’t always practical, and it’s usually not very artistic.
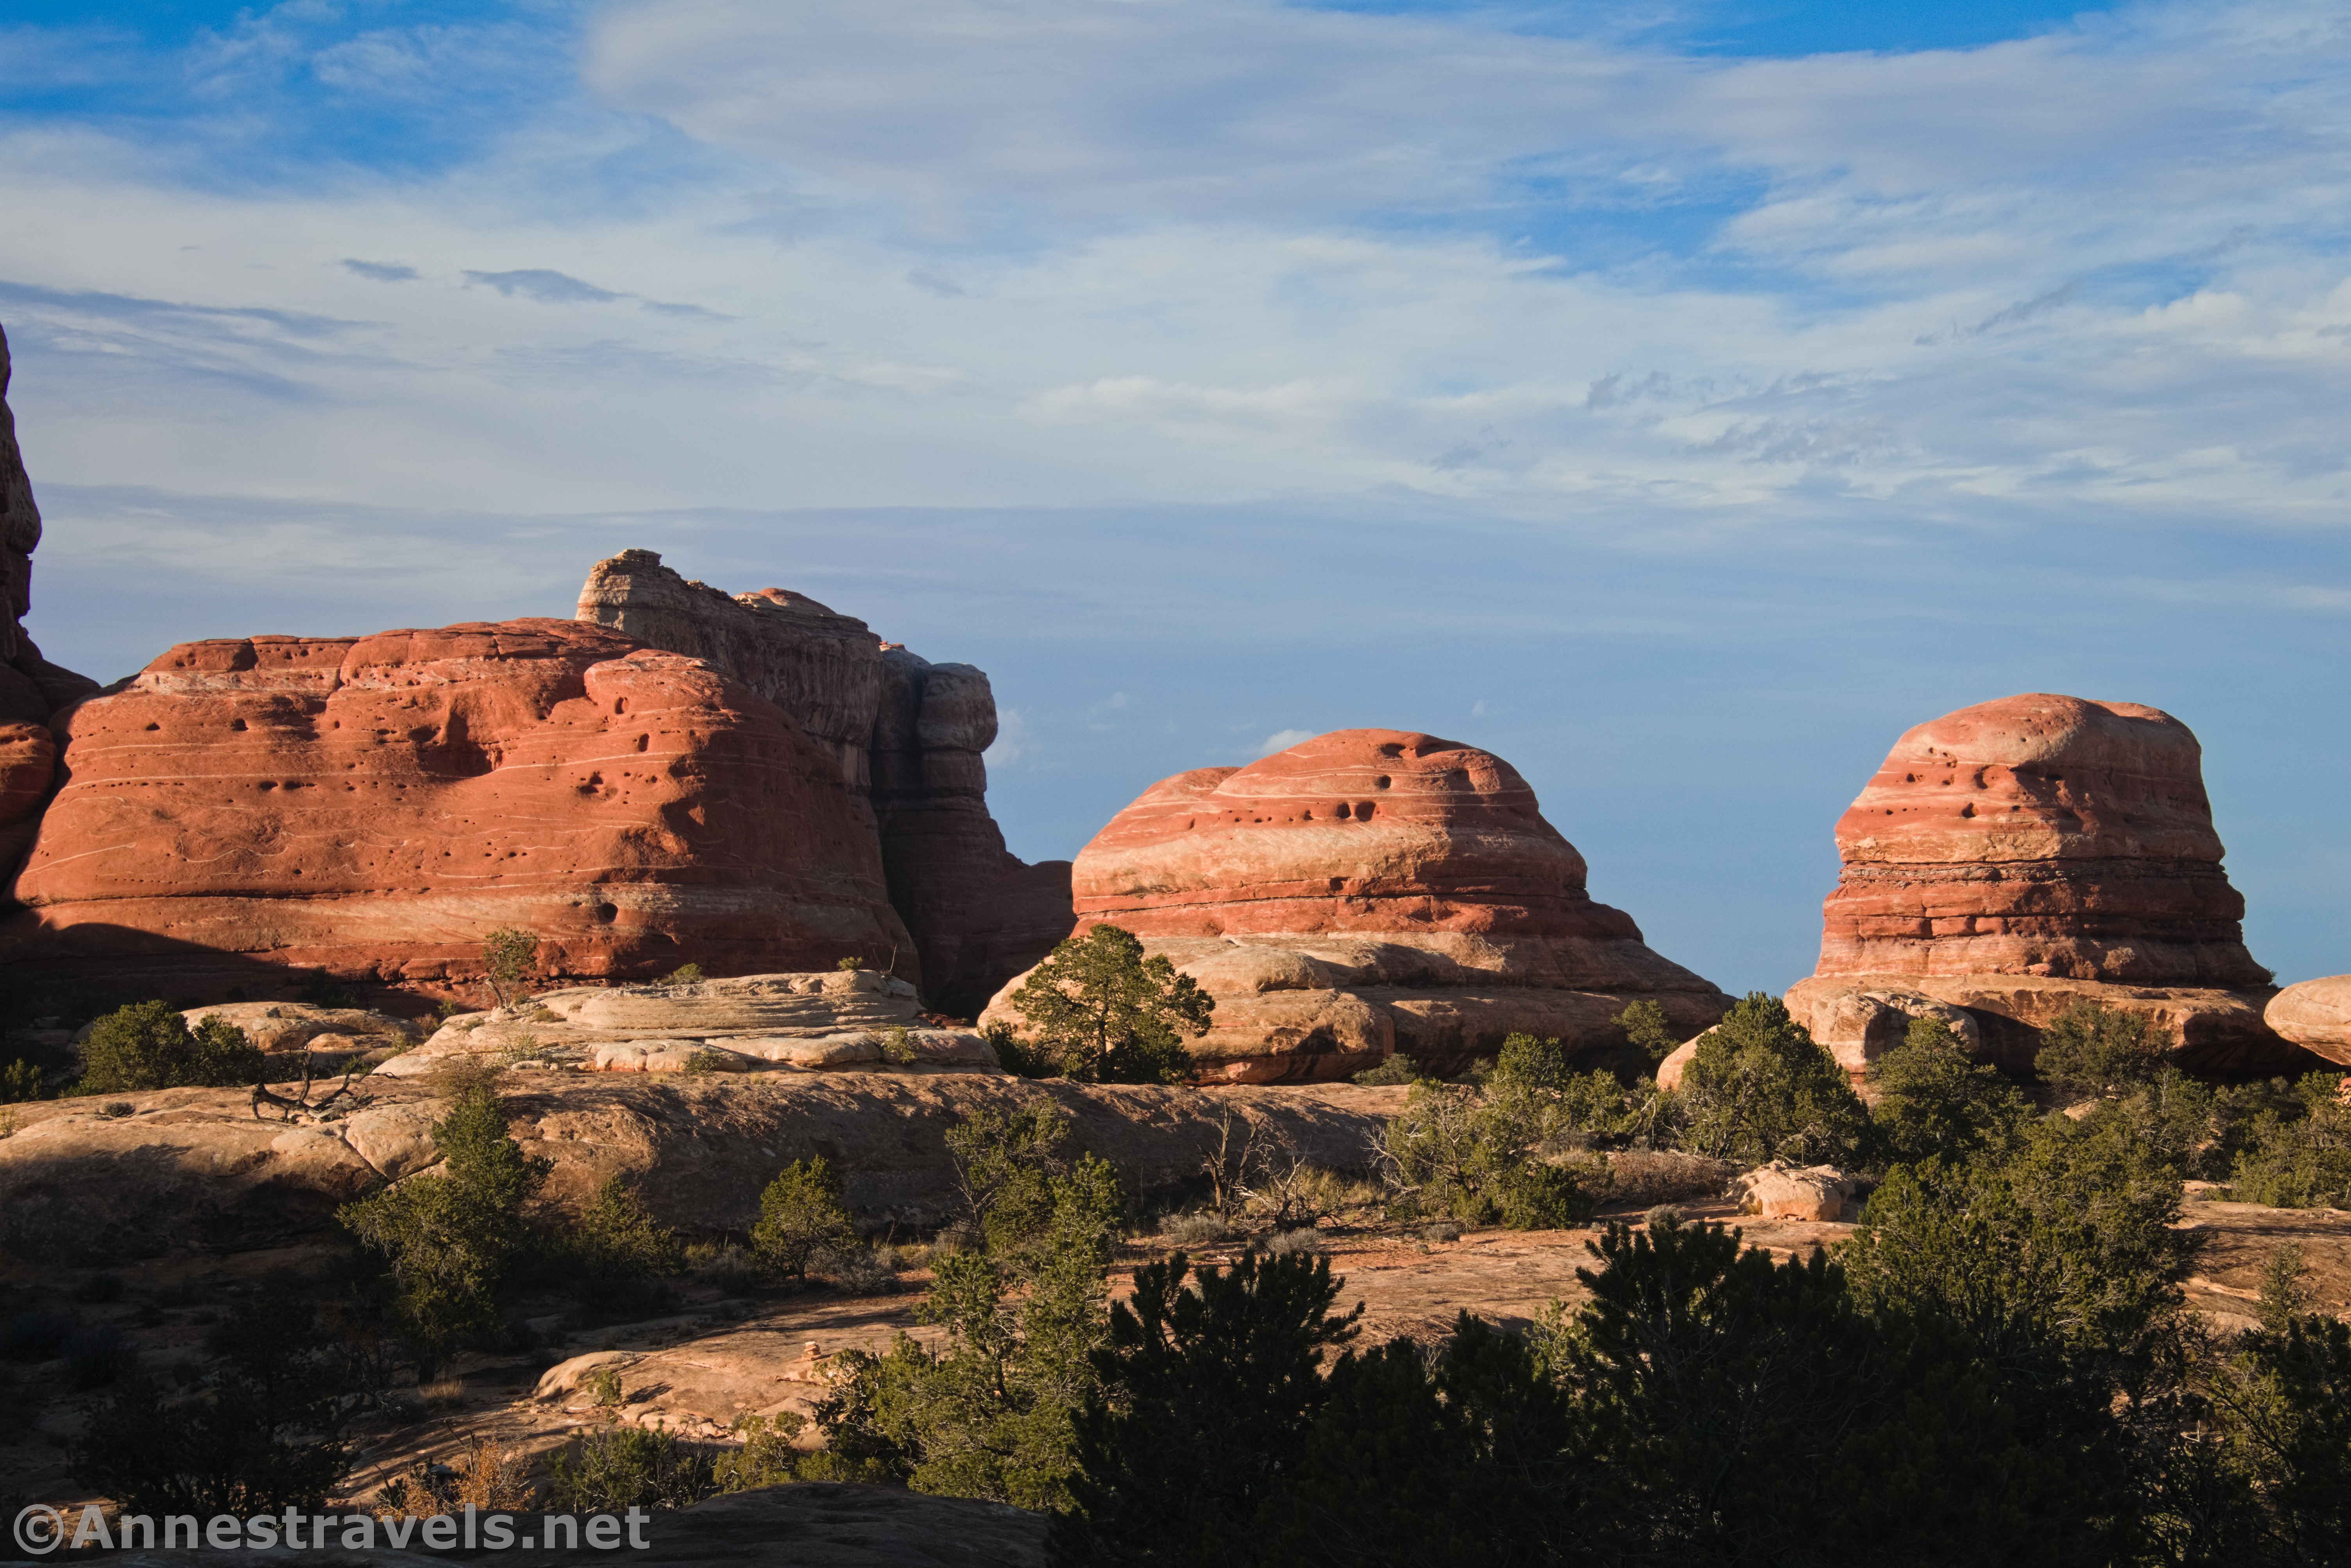
 

The sun hits the buttes near Elephant Canyon not quite from the side.  This allows the side facing us to be in the sunlight while still giving the rocks definition.  Canyonlands National Park, Utah
The sun hits the buttes near Elephant Canyon not quite from the side. This allows the side facing us to be in the sunlight while still giving the rocks definition. Canyonlands National Park, Utah

Light shining directly onto your subject will create little to no shadows or highlights – making for a flat, uninteresting picture.  Having the light from one side will create more depth, but it also may create too many shadows.  A light source just to the side of shining directly on your subject may be the perfect meeting of the worlds, so to speak.  Move around and try to find the best story you can tell, given lighting conditions.