Course Content
Introduction
A pre-lesson to help prepare you for Lesson 1.
0/2
Lesson 1: Getting Started
Collect the photography gear that you'll need for the course
0/4
Lesson 2: The Workings of a Camera (Technical Lesson 1)
In this lesson, we'll discuss how a camera works - including digital cameras!
0/6
Lesson 3: Background vs. Foreground (Composition 1)
In this lesson, we will look at the three basic elements of every photograph - the foreground, the background, and the subject.
0/4
Lesson 4: Light (Technical Lesson 2)
Everything in a photograph is based on light. In this lesson, we will study light and how to use it to your advantage while taking pictures.
0/7
Lesson 5: Tell a Story (Composition 2)
In this lesson, we will discuss how to compose pictures in such a way as to draw viewers into the photo via the story it tells.
0/6
Lesson 6: The Direction of Light (Technical Lesson 3)
In this lesson, we will look at how the direction of light affects our photographs - and why this is important.
0/6
Wilderness Photography 101
About Lesson
Ibex Dunes in the evening, Death Valley National Park, California
In this photograph, I love how the light is coming from the left side, allowing the right side of the dunes (and ripples in the sand) to be defined by shadows. Ibex Dunes, Death Valley National Park, California

The direction of light may be the most important part of photography – where your light is coming from.  If the light is coming from in front of you, but behind your subject, your subject will be backlit.  If the light is coming from one side, that side will be more illuminated than the other side.  If the light is coming from behind you, then the front of your subject may be illuminated, but the back or sides may be in shadow.  Light might also be coming from above you (or your subject), below you, or from any other angle.

The direction of light can make a big difference in a photograph.  Consider this photo of Mesa Arch, with the sun behind the photographer...  Canyonlands National Park, Utah
The direction of light can make a big difference in a photograph. Consider this photo of Mesa Arch, with the sun behind the photographer…

Before you push the shutter button, figure out where the light is coming from.  If you’re outside, chances are the sun will be your light source – so just look for what direction the sun is shining from, or look at where the shadows fall (usually, the light source is directly opposite shadows).  But even here, things can get tricky: For example, where is the light coming from if you’re in a canyon?  Or a cave?  Or an area with artificial lights or reflectors?

Mesa Arch at sunrise, Canyonlands National Park, Utah
The sun behind Mesa Arch on the same day as the previous photo. Canyonlands National Park, Utah

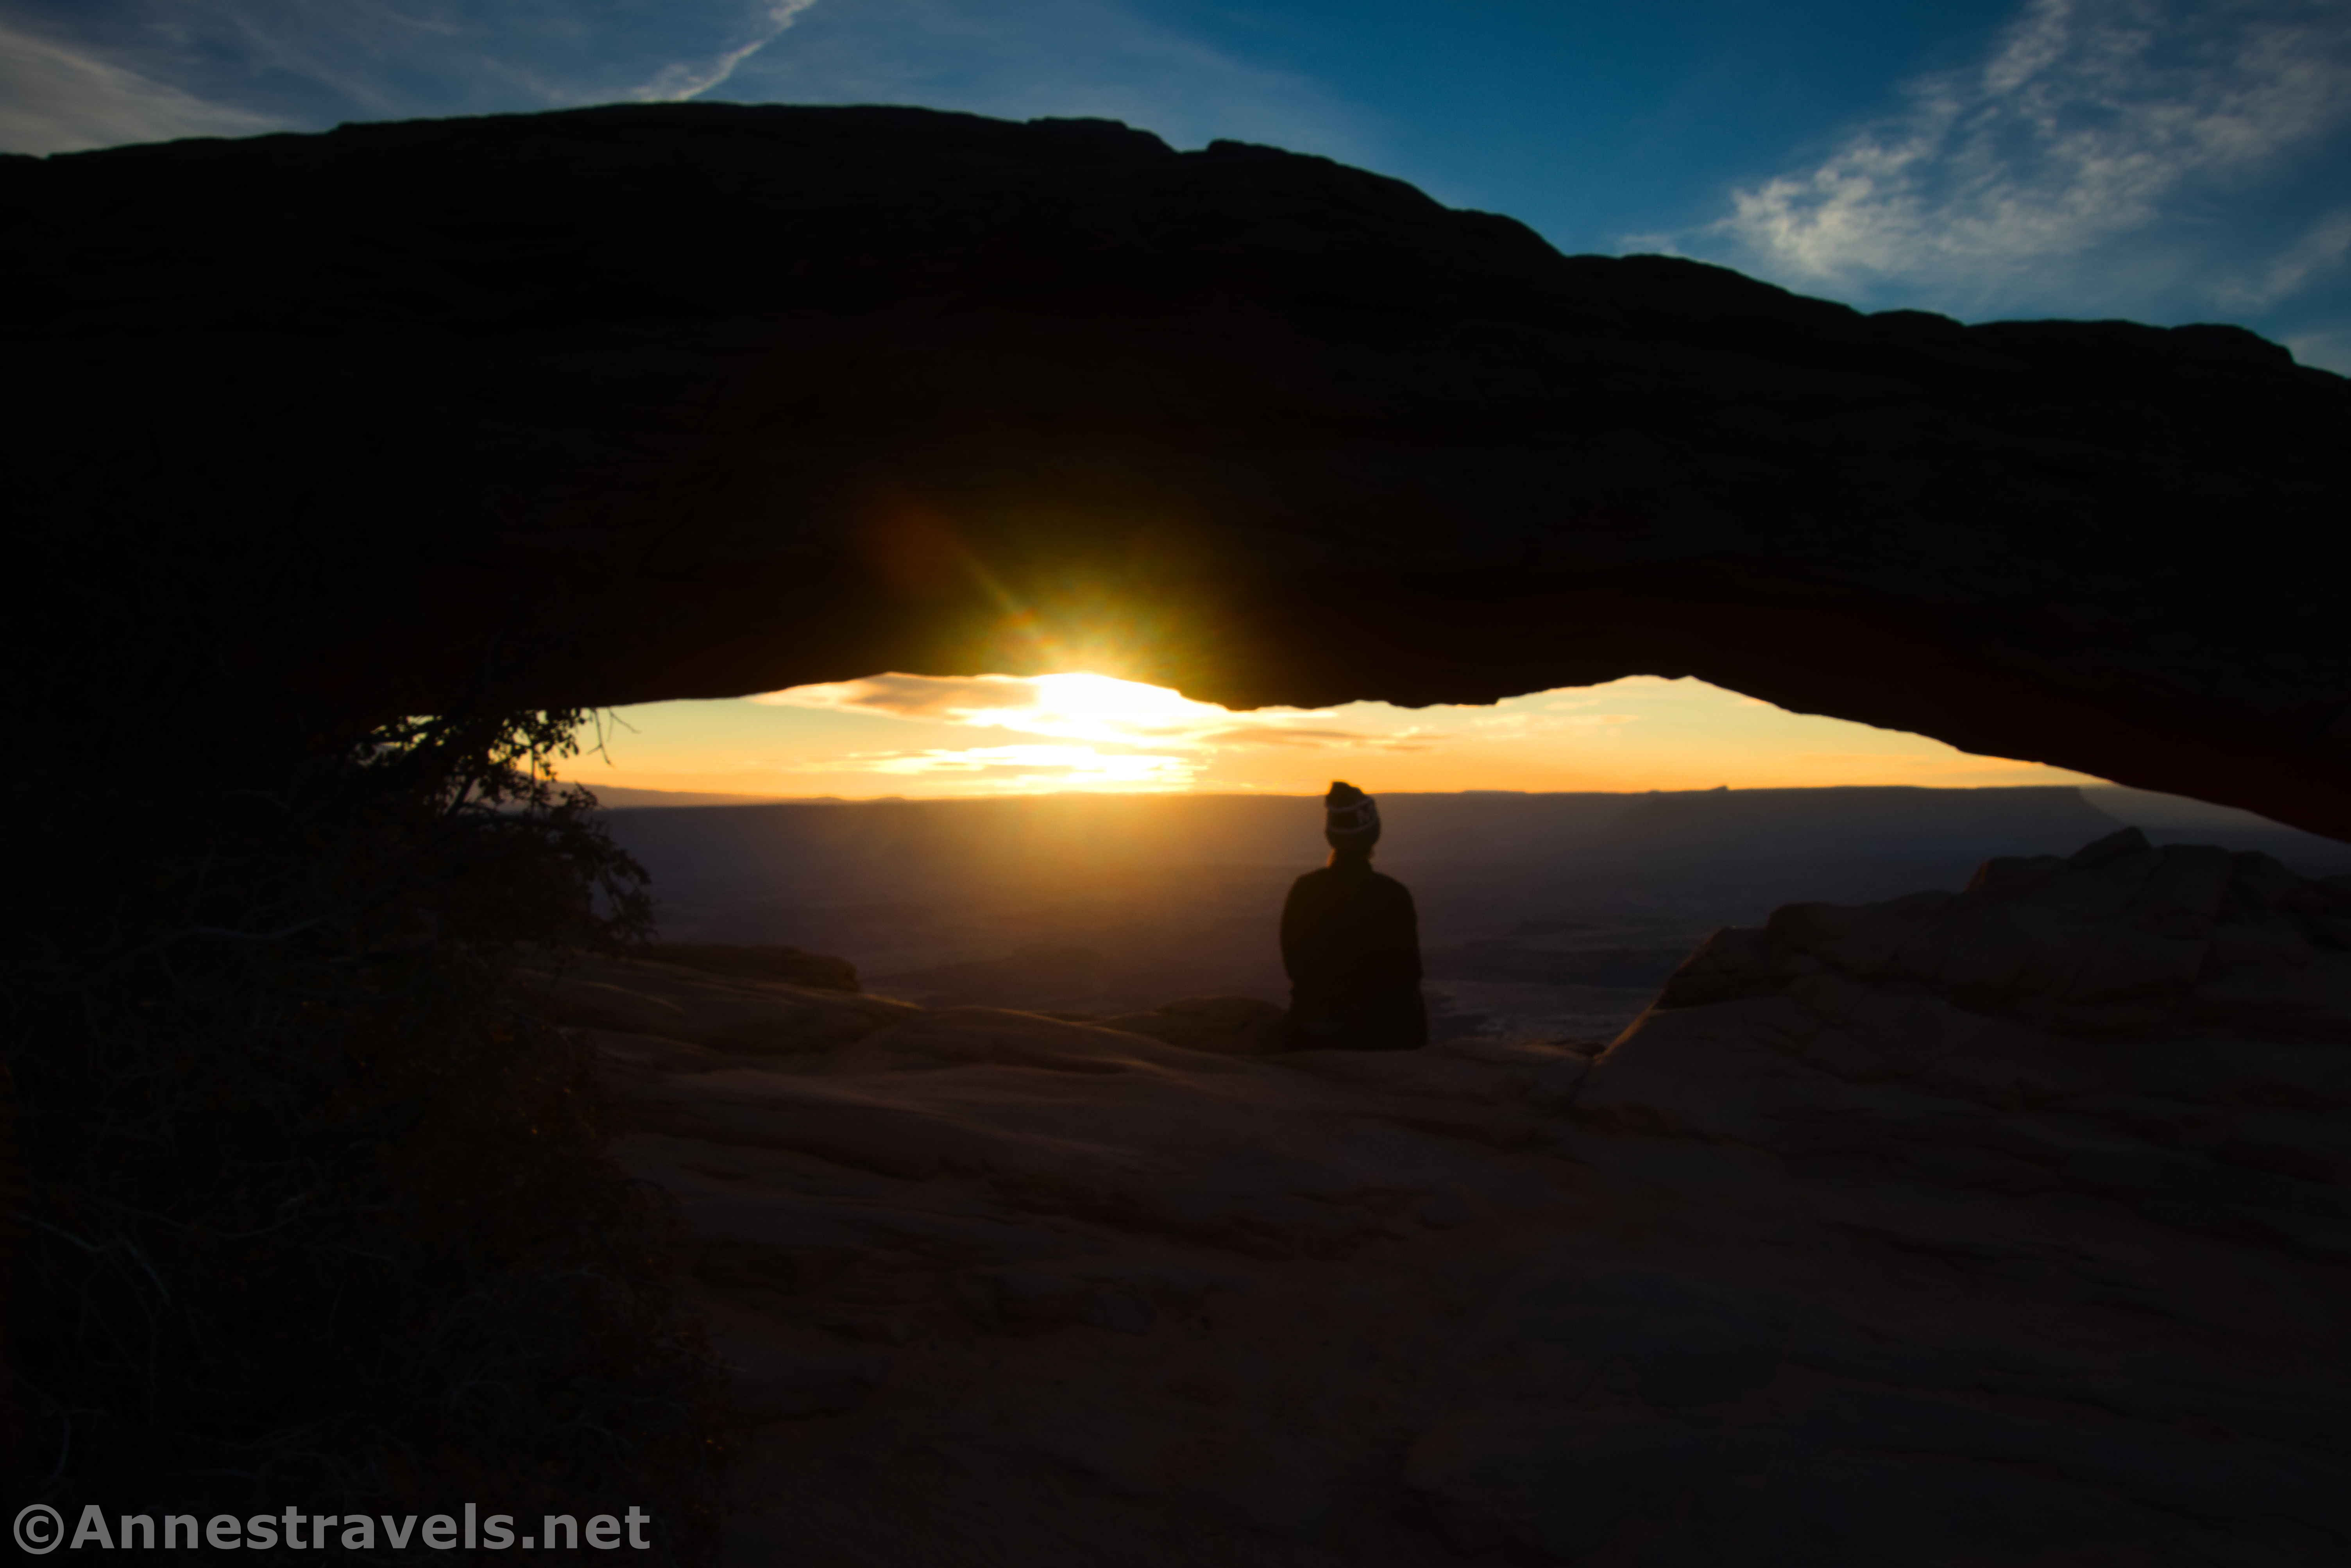
Once you’ve figured out where the light is coming from, watch how the light hits your subject.  Is the subject in shadow where it should be illuminated?  Can you move (or have the subject move, if it’s a person) so that the subject is illuminated the way you want it to be?