Course Content
Introduction
A pre-lesson to help prepare you for Lesson 1.
0/2
Lesson 1: Getting Started
Collect the photography gear that you'll need for the course
0/4
Lesson 2: The Workings of a Camera (Technical Lesson 1)
In this lesson, we'll discuss how a camera works - including digital cameras!
0/6
Lesson 3: Background vs. Foreground (Composition 1)
In this lesson, we will look at the three basic elements of every photograph - the foreground, the background, and the subject.
0/4
Lesson 4: Light (Technical Lesson 2)
Everything in a photograph is based on light. In this lesson, we will study light and how to use it to your advantage while taking pictures.
0/7
Lesson 5: Tell a Story (Composition 2)
In this lesson, we will discuss how to compose pictures in such a way as to draw viewers into the photo via the story it tells.
0/6
Lesson 6: The Direction of Light (Technical Lesson 3)
In this lesson, we will look at how the direction of light affects our photographs - and why this is important.
0/6
Wilderness Photography 101
About Lesson
Inside of the Great Savage Tunnel on the GAP Rail Trail, Pennsylvania

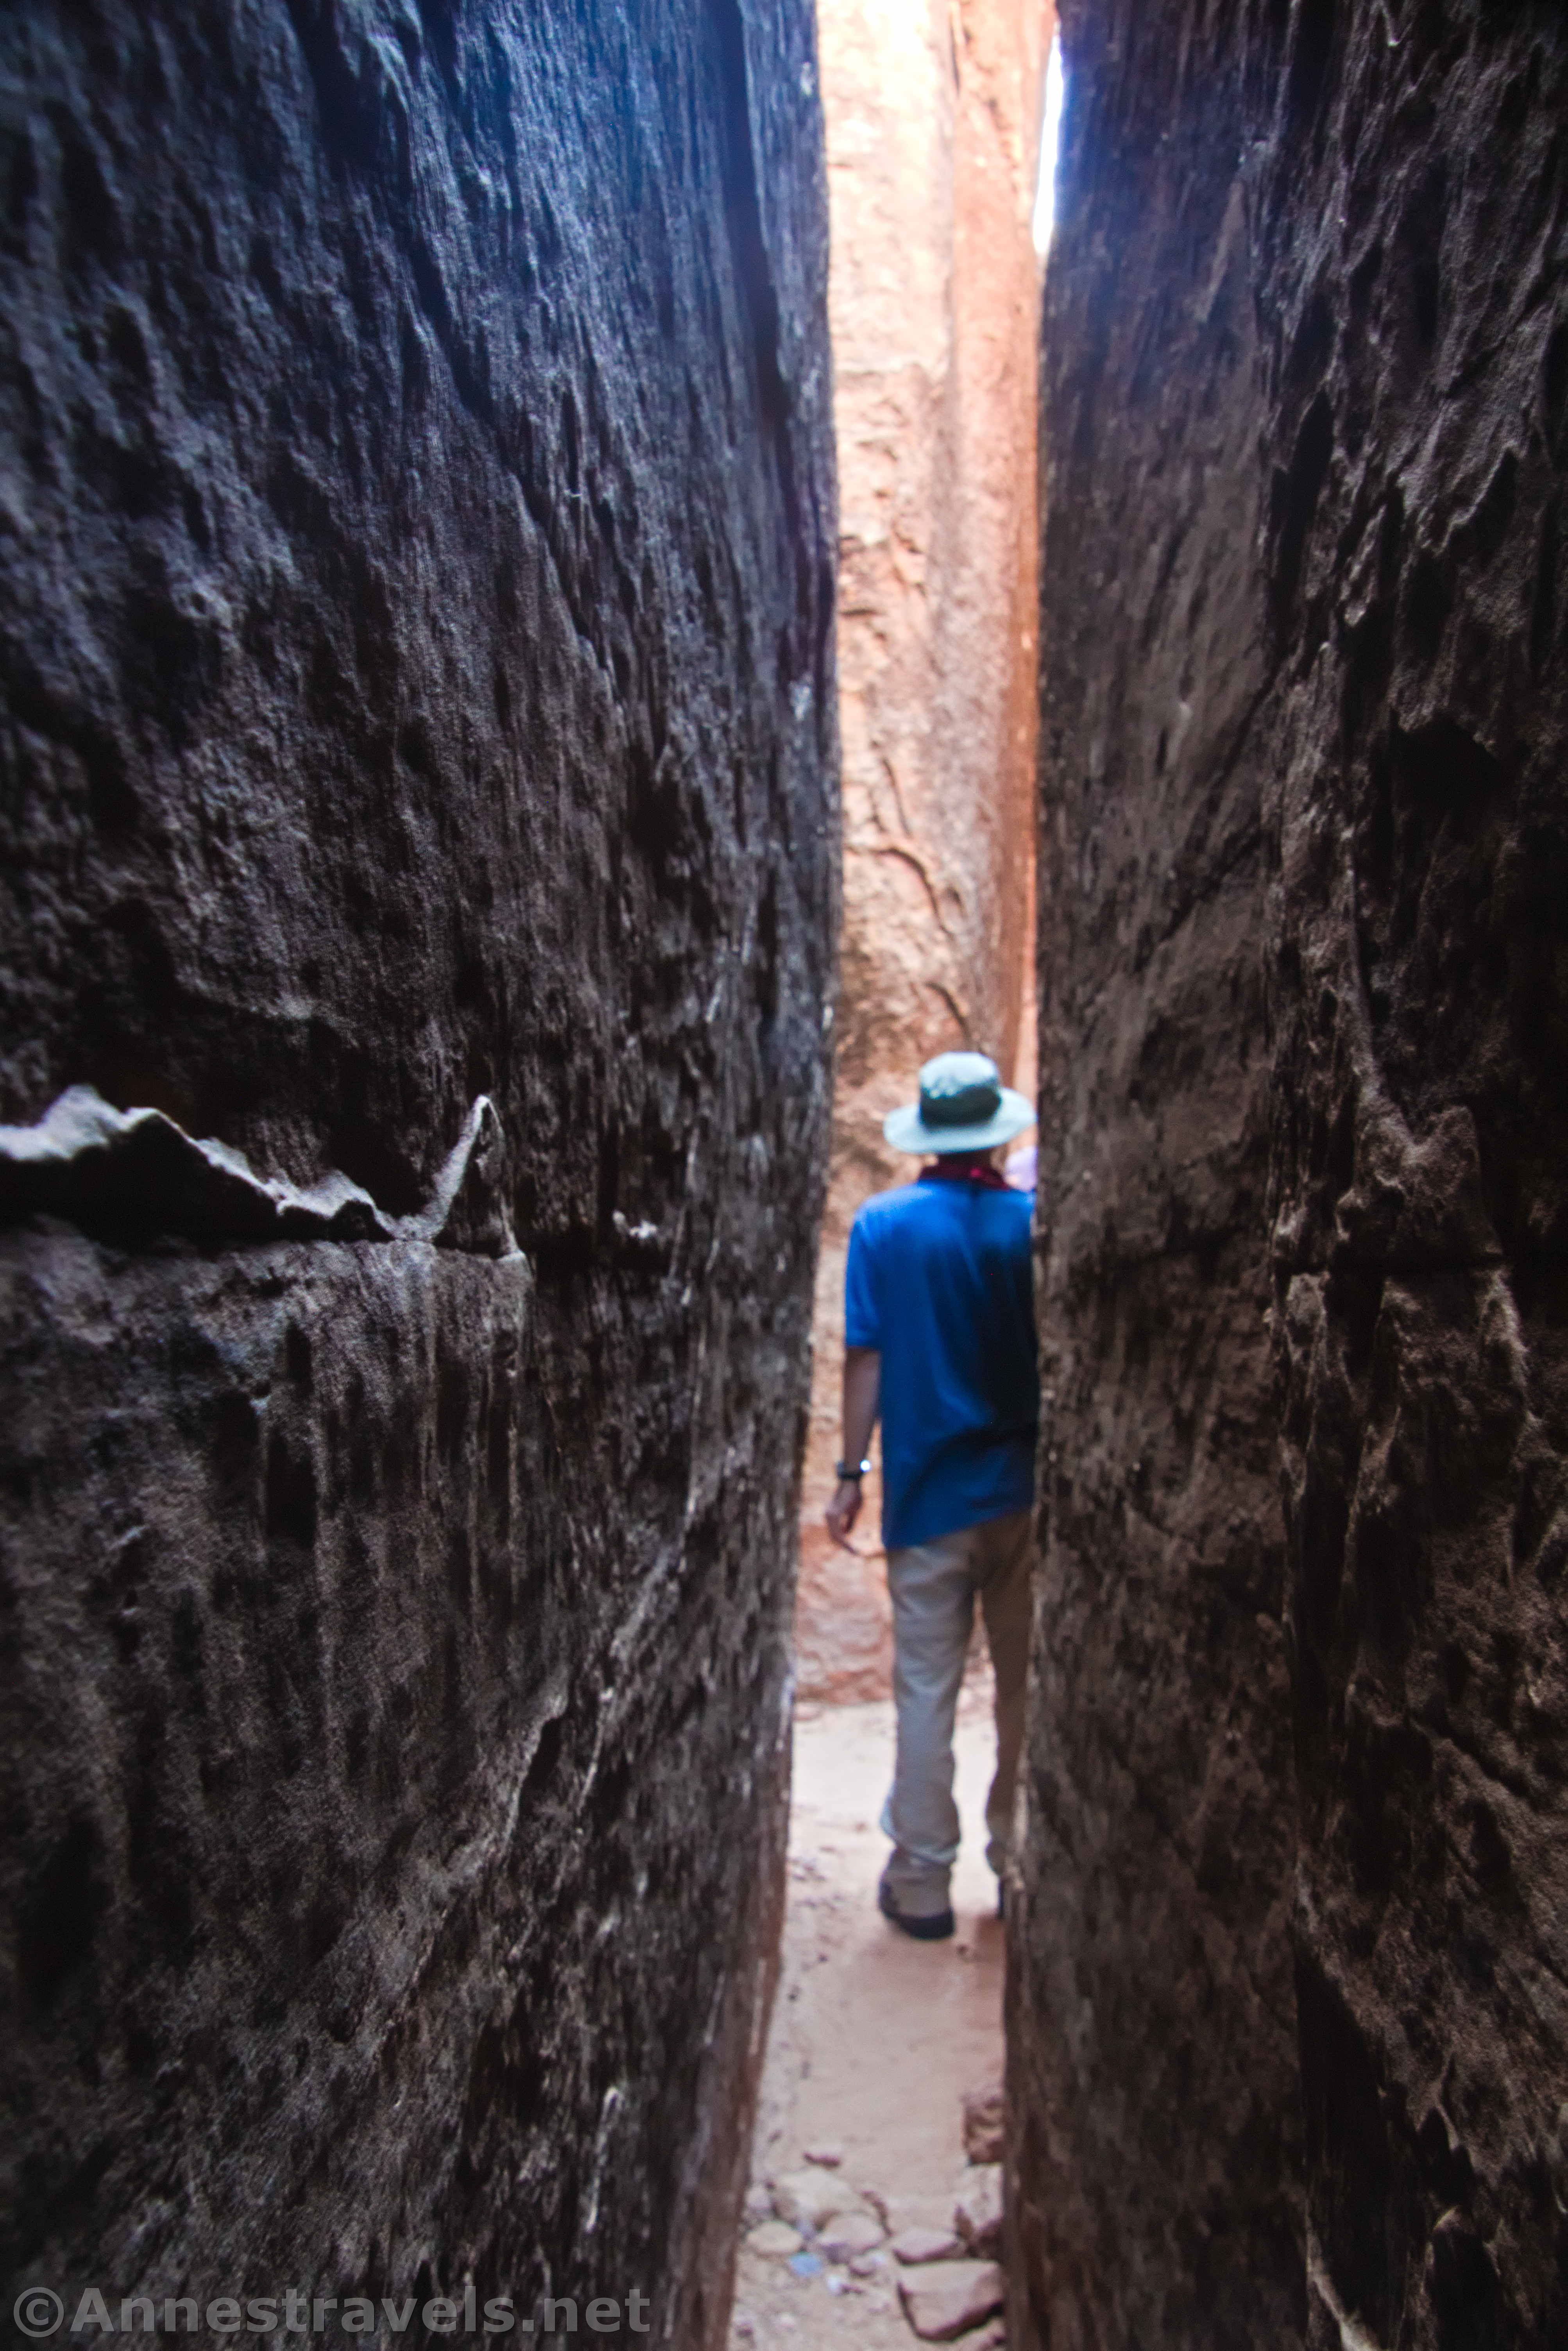
A photographer’s worst nightmare is lack of light.  If you’re in deep shadows or a cave or narrow canyon or dense forest or early morning/late evening or other dim setting, there may not be enough light to take a good photograph.  There are things you can do to compensate for low light (mostly involving the exposure triangle, which we will explore in depth in upcoming lessons).  If you’re in a very dim situation, you’ll need to take that into consideration before pushing the shutter button.

Exploring narrow slot canyons on the Joint Trail in Canyonlands National Park, Utah, I had to adjust for the dim conditions even on a sunny day

In dim settings, you will likely need to steady the camera by placing it on a tripod or steadying it against a firm surface, such as a rock or railing.  This is because the camera is trying to allow more light to the sensor by keeping the shutter open for a longer period of time (longer shutter speed).  Even the most steady hands will shake a little bit – this doesn’t matter for a shutter speed of, say, 1/100th of a second, but for 1/2 second, the shake will likely be visible in the form of a blurry picture.

Lone Pine Peak and Mt. Whitney from Alabama Hills National Recreation Area, California
I had to be very careful to steady my camera while photographing the Sierra Nevada Mountains in the pre-dawn light before sunrise

On the other hand, too much light is just as problematic.  Bright light will wash out objects in the picture, creating a very unappealing image.

Zion Narrows, Zion National Park, Utah
The very bright sun reflecting off of the water made many of my photos wash out in the Narrows of Zion National Park, Utah.

As nature photographers, we can rarely control the amount of light on a given scene (unless you return to the site at a different time of day).  And so we will need to compensate: Use a tripod and movement to avoid camera shake or turn down the exposure on a very bright, washed-out scene (we’ll talk about how to that when we discuss the exposure triangle in an upcoming lesson).