Course Content
Introduction
A pre-lesson to help prepare you for Lesson 1.
0/2
Lesson 1: Getting Started
Collect the photography gear that you'll need for the course
0/4
Lesson 2: The Workings of a Camera (Technical Lesson 1)
In this lesson, we'll discuss how a camera works - including digital cameras!
0/6
Lesson 3: Background vs. Foreground (Composition 1)
In this lesson, we will look at the three basic elements of every photograph - the foreground, the background, and the subject.
0/4
Lesson 4: Light (Technical Lesson 2)
Everything in a photograph is based on light. In this lesson, we will study light and how to use it to your advantage while taking pictures.
0/7
Lesson 5: Tell a Story (Composition 2)
In this lesson, we will discuss how to compose pictures in such a way as to draw viewers into the photo via the story it tells.
0/6
Lesson 6: The Direction of Light (Technical Lesson 3)
In this lesson, we will look at how the direction of light affects our photographs - and why this is important.
0/6
Wilderness Photography 101
About Lesson
Bonneville Run Trail, Tiadaghton State Forest, Pennsylvania
This was a lovely forest, but the deep shadows and bright sunlight created such a dynamic contrast that it was difficult to capture with a camera. Tiadaghton State Forest, Pennsylvania

In some situations, there will be a massive difference in the strength of the light between the brightest highlights and the darkest shadows. An excellent example is strong sunlight filtering through the leaves of trees in a forest.  Dappled sunlight looks delightful to the human eye, but in a photo, the contrast of light will likely appear too light and too dark all at once as the camera struggles for a median exposure that is neither too light nor too dark.

Exclamation Point, Black Canyon of the Gunnison National Park, Colorado
In this photo, the camera struggled to lighten the dark shadows to the point that the lighter parts of the canyon are a little blown out – the sky definitely could use to be darker. Black Canyon of the Gunnsion, Colorado

Another example of the dynamic range of light is a photograph that includes bright sunlight but also some areas of deep shadow.  The camera (on auto mode) will choose whether it believes the darkest area or the lightest area to be the part of the picture you want properly exposed.  If it chooses the dark area, the light areas will be “blown out,” white, and overexposed.  If it chooses the lighter area to expose properly, the darker shadows will be black, and you won’t be able to see what might be in those shadows.

Sunset in Ah-Shi-Sle-Pah Wilderness, New Mexico
The camera properly exposed the sunset, leaving the two hikers as silhouettes. Ah-Shi-Sle-Pah Wilderness, New Mexico

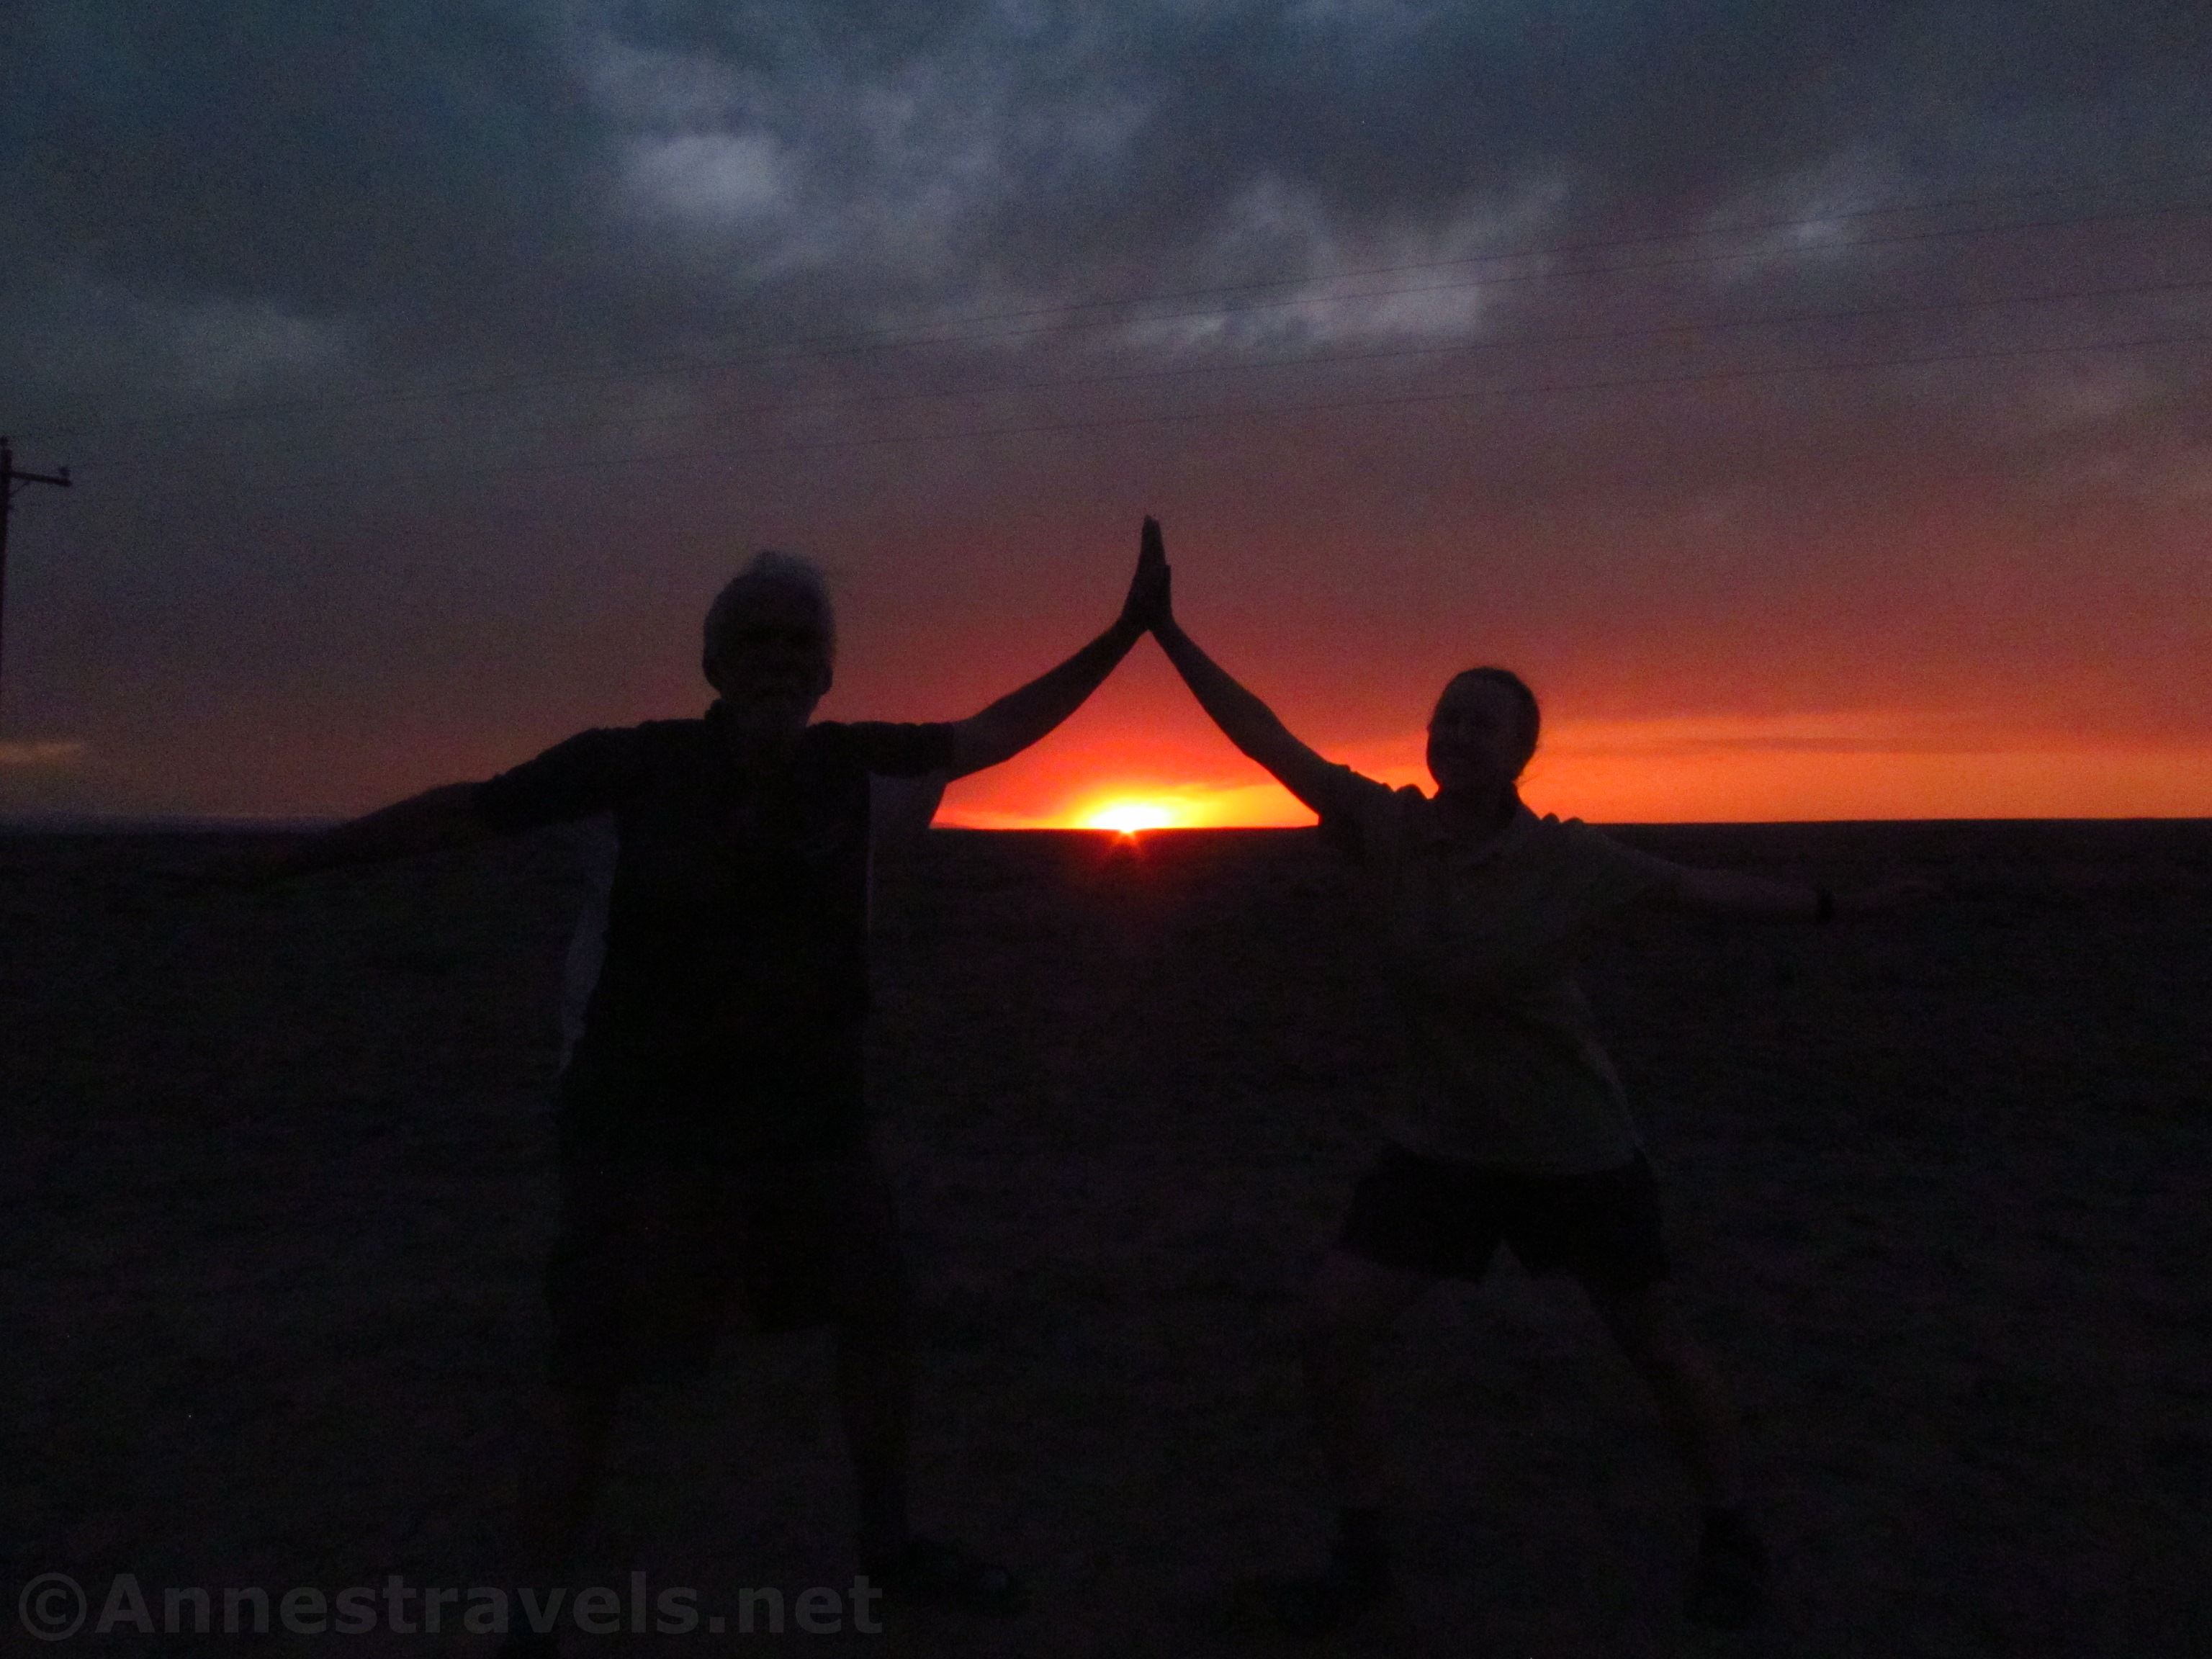
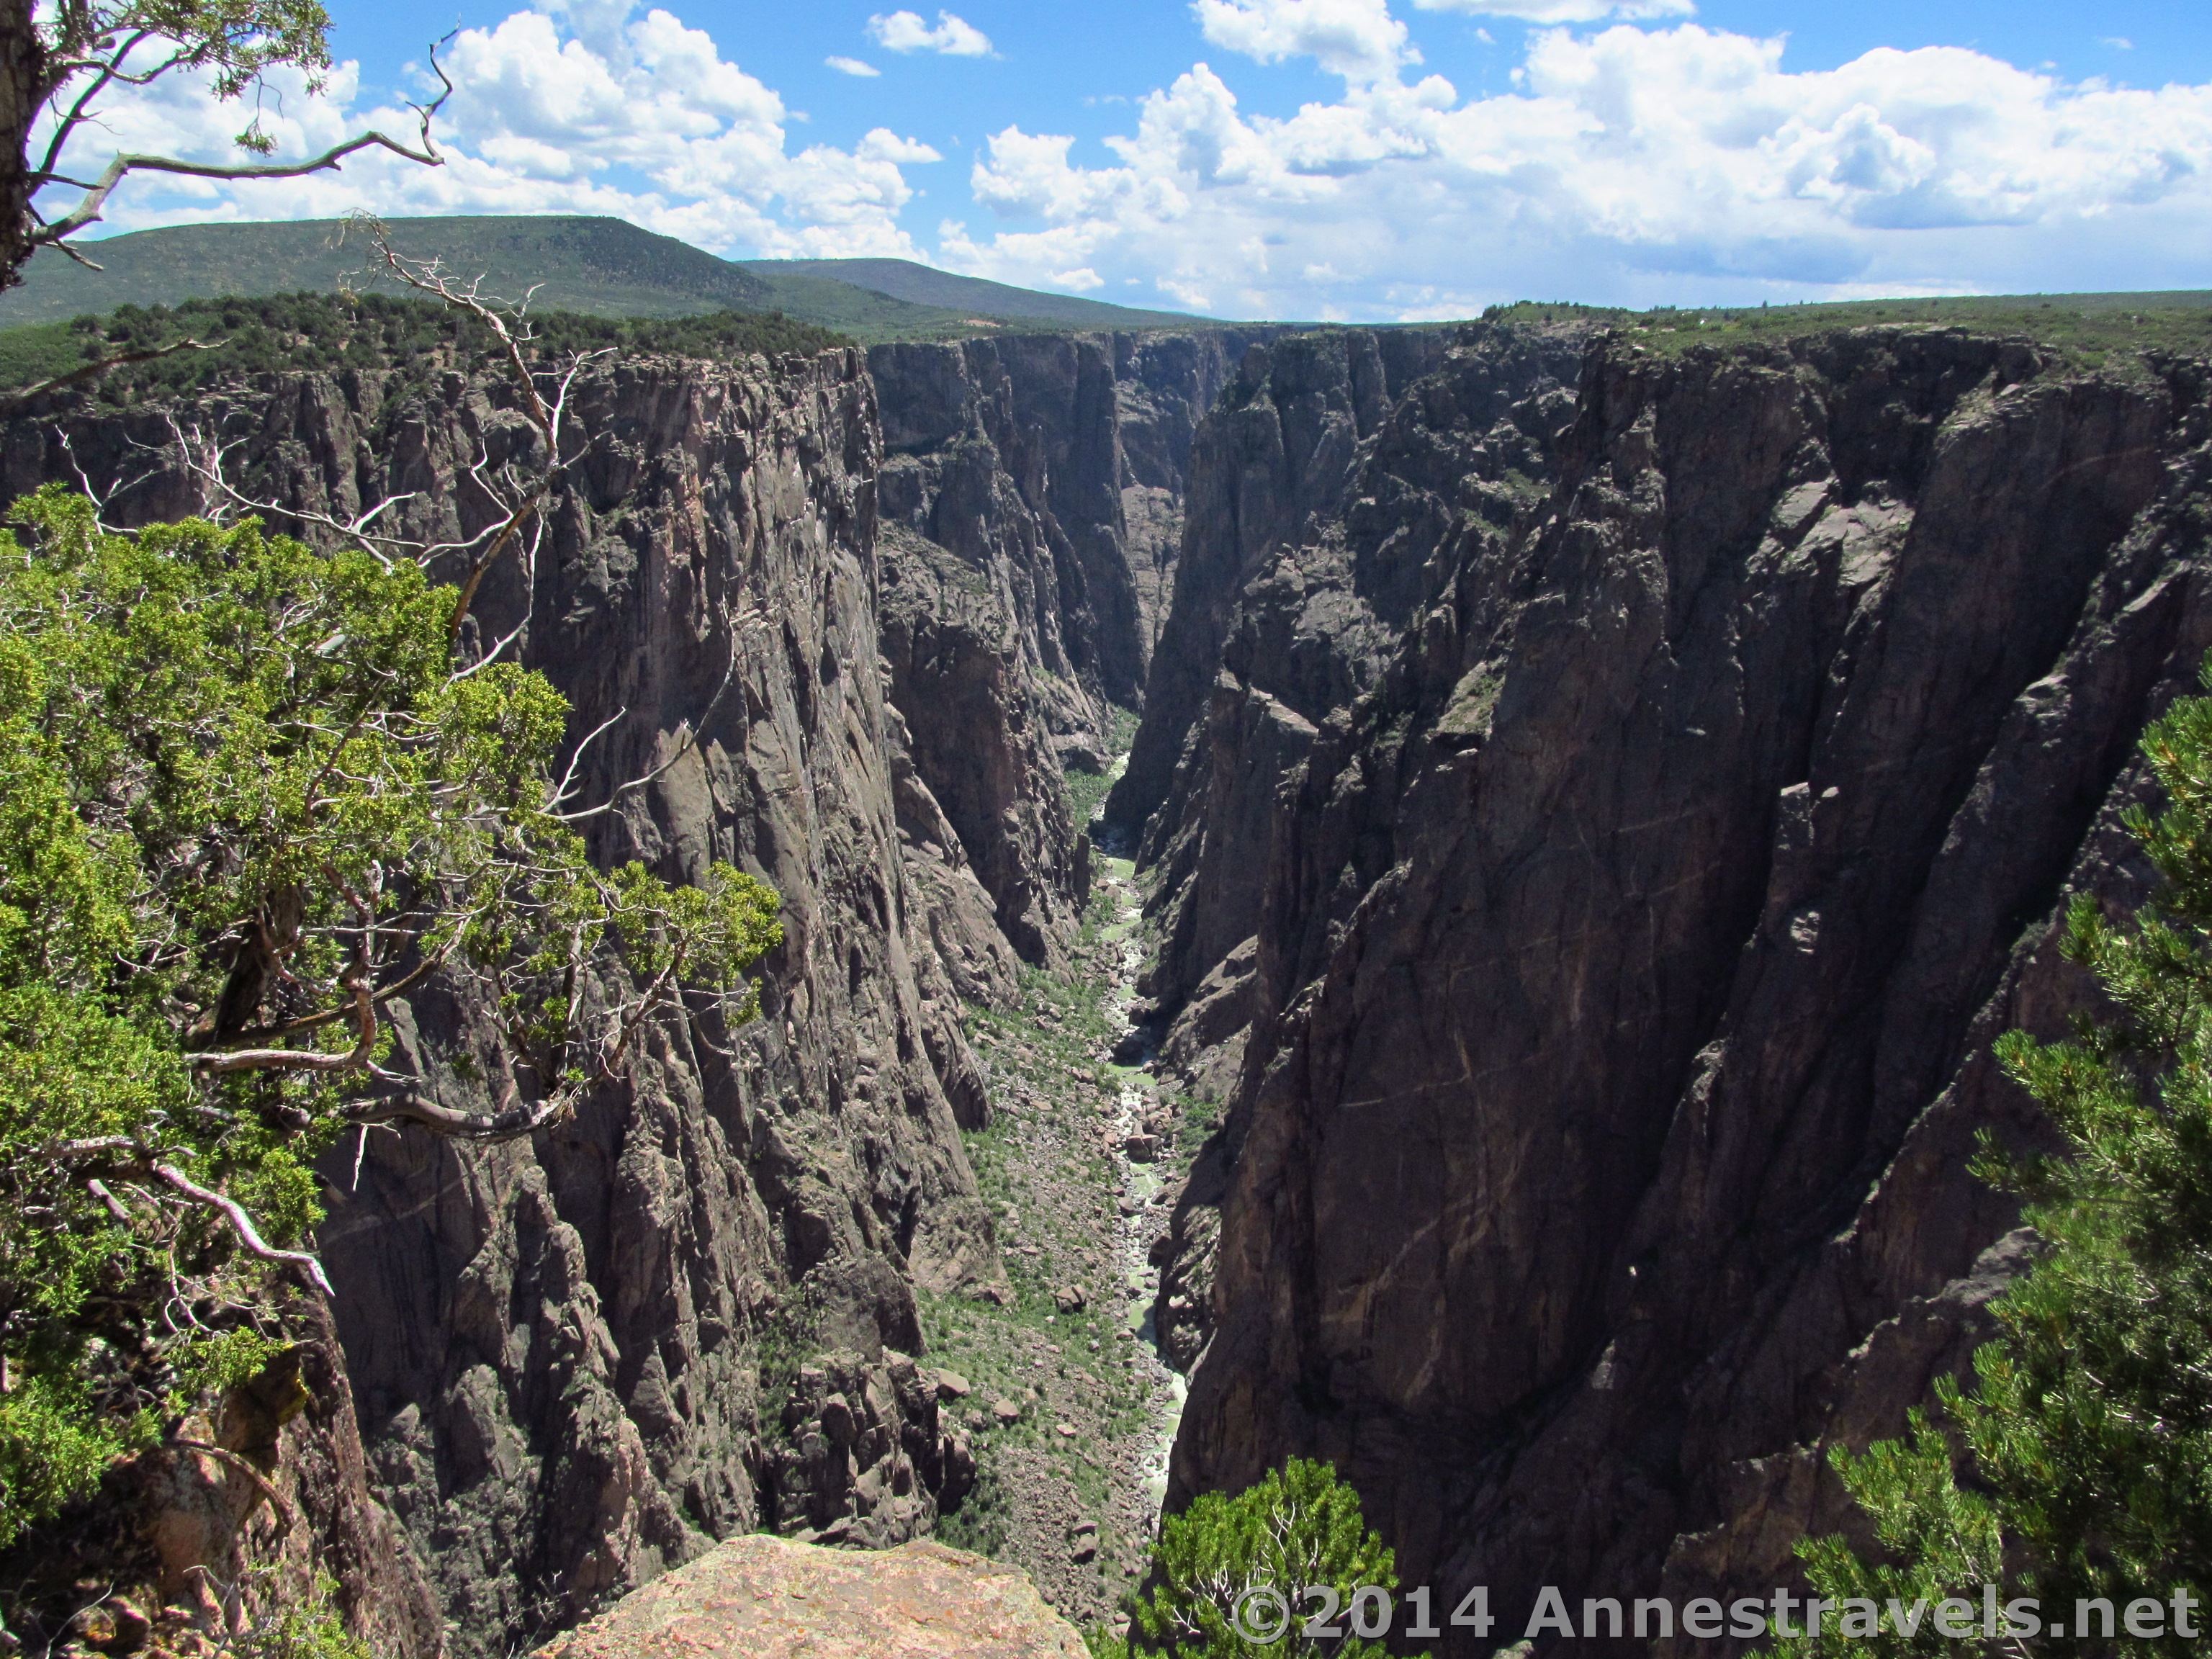
In landscape photography, you’ll face dynamic range of light in most situations.  You’ll have to decide what you’re willing to sacrifice – the lights or the darks – when taking a photo, or what you can do to mitigate against the dynamic contrast (for example – using a flash to illuminate a subject in the shadows).